Ubuntu Installation Guide

Introduction
This guide will guide you through the installation process for the HIASBCH Private Ethereum Blockchain.
The installation for the HIASBCH Private Blockchain and component is handled by the HISA Core installation. The following information provides the steps you need to take to configure the HIASBCH installation.
Configuration
The configuration for the HIAS Core installation can be found in the HIAS-Core/scripts/install.config file. The following variables are relevant to the HIASBCH installation.
hiasbchuser=''
hiasbchpass=''
hiasbchchain=''
hiasbchpermissions=''
hiasbchpermissionst=''
hiasbchintegrity=''
hiasbchintegrityt=''
- hiasbchuser will be provided to you during the installation.
- Choose a secure password for your core blockchain account and store in hiasbchpass.
- Choose a large random number for the hiasbchchain value.
- hiasbchpermissions is the address of the HIASBCH Permissions Smart Contract.
- hiasbchpermissionst is the transaction hash for the HIASBCH Permissions Smart Contract.
- hiasbchintegrity is the address of the HIASBCH Data Integrity Smart Contract.
- hiasbchintegrityt is the transaction hash for the HIASBCH Data Integrity Smart Contract.
Before you start the HIAS-Core installation you should make sure that you have chosen your password and added it to the hiasbchpass value in the configuration file along with a large random number for the hiasbchchain value. The rest of the configuration will be provided to you during installation and you should update the config file accordingly.
Installation
During the HIAS Core server installation the script will clone the HIASBCH repository and install the blockchain and component software. The script does this using the following commands:
 git clone https://github.com/AIIAL/HIASBCH.git
 mv HIASBCH/* components/hiasbch
 sh components/hiasbch/scripts/install.sh
 sh components/hiasbch/scripts/service.sh
Follow the instructions provided by the installation script.
Deploy HIASBCH Smart Contracts With Geth
During the installation, the Geth console will open. Follow the steps provided below:
Start Your Miner
At this point you will be inside Geth console and your blockchain will be online. Start your miner using the following command, change NumberOfThreads to the amount of cores you want to use:
miner.start(NumberOfThreads)
You will need to wait for your DAG to be generated. You will see logs such as Generating DAG in progress epoch=0 percentage=42 elapsed=3m31.734s, when the percentage gets to 100% for epoch 1 your DAG is generated.
Deploy the HIASBCH Smart Contracts
To deploy your smart contracts you will need the contents of:
/hias/hiasbch/Contracts/build/HIAS.abi
/hias/hiasbch/Contracts/build/HIAS.bin
/hias/hiasbch/Contracts/build/iotJumpWay.abi
/hias/hiasbch/Contracts/build/iotJumpWay.bin
/hias/hiasbch/Contracts/build/HIASPatients.abi
/hias/hiasbch/Contracts/build/HIASPatients.bin
First deploy the HIASBCH Permissions Smart Contract.
- Replace
ContentsOfPermissions.abiwith the contents of/hias/hiasbch/Contracts/build/permissions.abi - Replace
ContentsOfPermissions.binwith the contents of/hias/hiasbch/Contracts/build/permissions.bin. Ensure you leave the trailing0x. - Replace
YourHiasbchAddresswith the address provided to you when you created your core blockchain account. - Replace
YourHiasbchPasswordwith the your core blockchain account password.
  var pabi = ContentsOfHIAS.abi
  var pbin = "0xContentsOfHIAS.bin"
  var paddress = "YourHiasbchAddress"
  var ppass = "YourHiasbchPassword"
  personal.unlockAccount(paddress, ppass, 1200)
  var newContract = eth.contract(pabi)
  var deploy = {from:paddress, data:pbin, gas: 5000000 }
  var contractInstance = newContract.new(deploy, function(e, contract){
    if(!e) {
      if(!contract.address){
        console.log("Contract deployment transaction hash: " + contract.transactionHash);
      } else {
        console.log("Contract address: " + contract.address);
      }
    } else {
      console.log(e);
    }
  })
Once you have changed the values specified above, paste it into Geth console and hit enter. Keep an eye out for Contract deployment transaction hash: and Contract address:, when you see them copy them and add them to the configuration file. The value for hiasbchpermissions should hold the contract address and hiasbchpermissionst contract deployment transaction hash.
Now you need to deploy the HIASBCH Data Integrity Smart Contract.
- Replace
ContentsOfIntegrity.abiwith the contents of/hias/hiasbch/Contracts/build/integrity.abi - Replace
ContentsOfIntegrity.binwith the contents of/hias/hiasbch/Contracts/build/integrity.bin. Ensure you leave the trailing0x. - Replace
YourHiasbchAddresswith the address provided to you when you created your core blockchain account. - Replace
YourHiasbchPasswordwith the your core blockchain account password.
  var iabi = ContentsOfIntegrity.abi
  var ibin = "ContentsOfIntegrity.bin"
  var iaddress = "YourHiasbchAddress"
  var ipass = "YourHiasbchPassword"
  personal.unlockAccount(iaddress, ipass, 1200)
  var newContract = eth.contract(iabi)
  var deploy = {from:iaddress, data:ibin, gas: 5000000 }
  var contractInstance = newContract.new(deploy, function(e, contract){
    if(!e) {
      if(!contract.address){
        console.log("Contract deployment transaction hash: " + contract.transactionHash);
      } else {
        console.log("Contract address: " + contract.address);
      }
    } else {
      console.log(e);
    }
  })
Keep an eye out for Contract deployment transaction hash: and Contract address:, when you see them copy them and add them to the configuration file. The value for hiasbchintegrity should hold the contract address and hiasbchintegrityt contract deployment transaction hash.
Your Smart Contracts are now deployed.
Start HIASBCH
You now need to log directly into your HIAS Core server, start HIASBCH and start mining. Ensuring you are in the HIAS-Core directory, uUse the following command to start HIASBCH:
sh components/hiasbch/scripts/startup.sh
You will now be in Geth console, use the following command to start your HIASBCH miner for the final time replacing NumberOfThreads with the amount of threads you want to use:
miner.start(NumberOfThreads)
This needs to be running at all times which is why you logged directly into your HIAS Core device. If you do not have your Blockchain running, you will not be able to log in to the HIAS UI and other core components will not be able to function. Now you can go back to your remote terminal to continue the HIAS Core installation.
HIASBCH Component
The HIASBCH component has two functions:
- Replenish HIASBCH Smart Contracts with HIAS Ether.
- Index blocks, addresses, transactions and receipts.
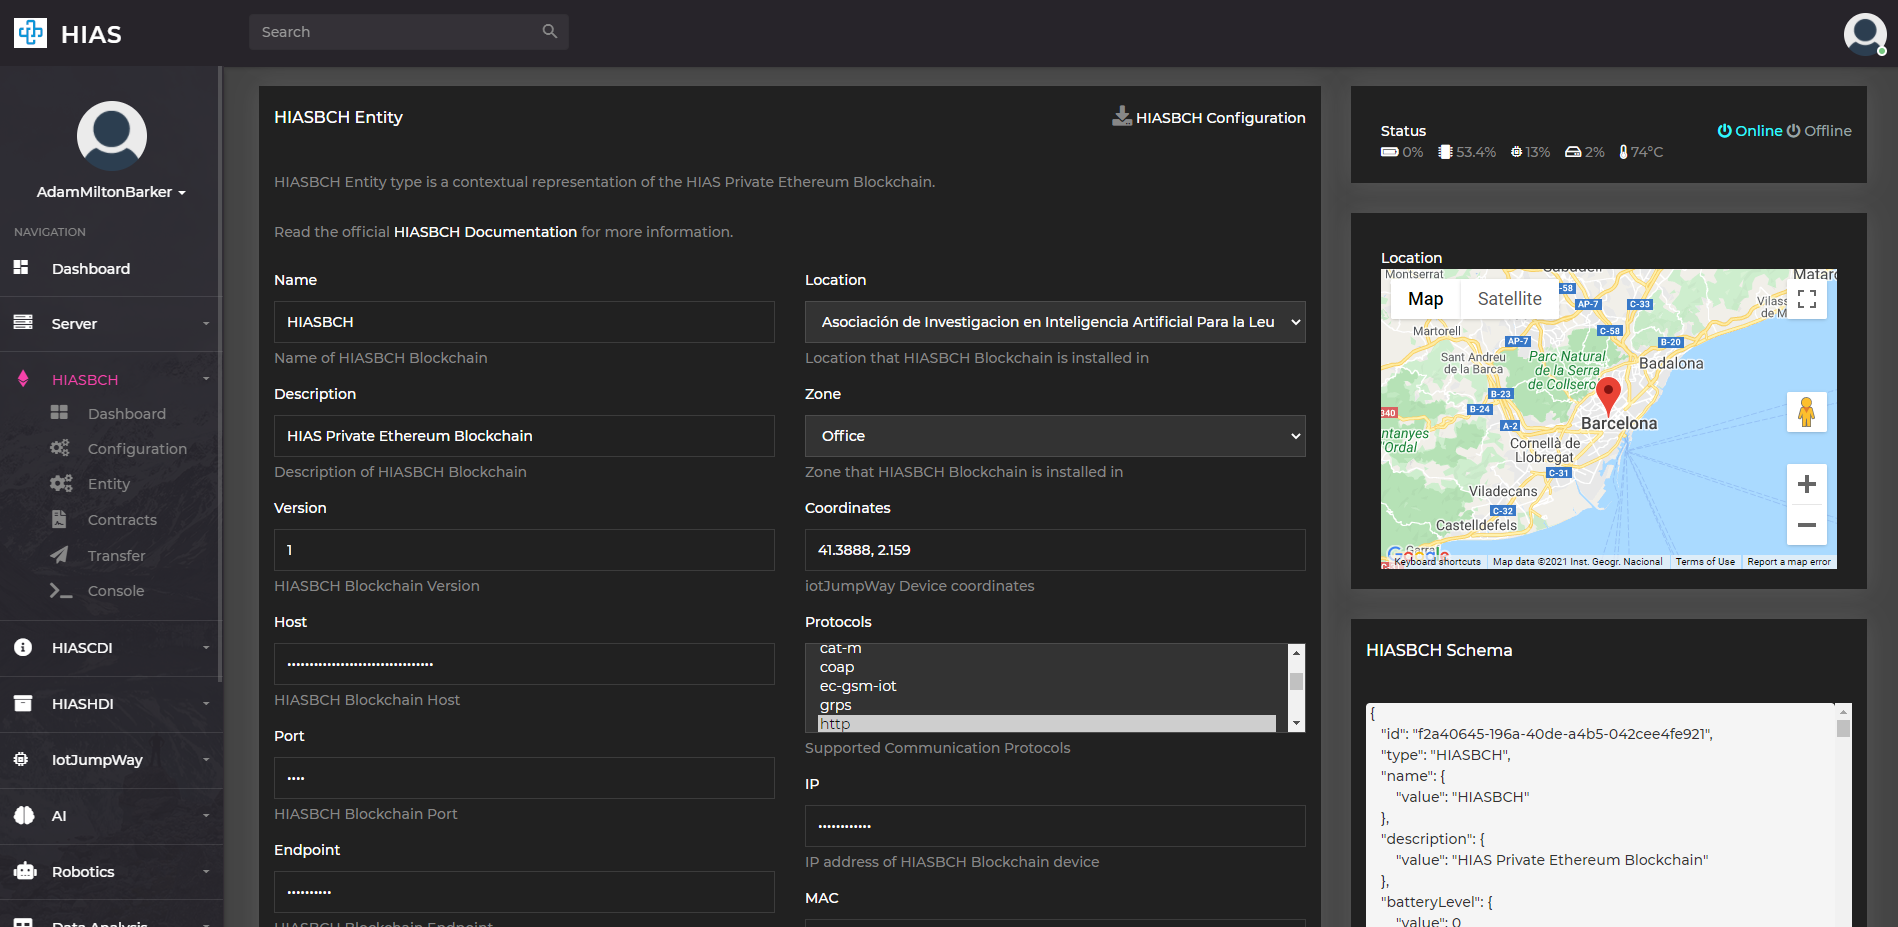
Once you have completed the entire HIAS Core installation you can log into the HIAS UI. Navigate to HIASBCH -> Entity and click on the HIASBCH Configuration button. This will open a file explorer, nagivate to the HIAS-Core -> configuration directory and save the file as credentials.json, then upload the file to the same location on your HIAS Core machine. Next add the HIASBCH application key provided to you at the end of the HIAS Core installation to the agent -> proxy value in config.json.
Continue
This completes the installation steps, now you can continue with the HIASBCH usage guide
Contributing
Asociación de Investigacion en Inteligencia Artificial Para la Leucemia Peter Moss encourages and welcomes code contributions, bug fixes and enhancements from the Github community.
Please read the CONTRIBUTING document for a full guide to contributing to our research project. You will also find our code of conduct in the Code of Conduct document.z
Contributors
- Adam Milton-Barker - Asociación de Investigacion en Inteligencia Artificial Para la Leucemia Peter Moss President/Founder & Lead Developer, Sabadell, Spain
Versioning
We use SemVer for versioning.
License
This project is licensed under the MIT License - see the LICENSE file for details.
Bugs/Issues
We use the repo issues to track bugs and general requests related to using this project. See CONTRIBUTING for more info on how to submit bugs, feature requests and proposals.